Measuring
NON CONTACT MEASUREMENT: COORDINATE & OPTICAL 3D METROLOGY by EMS Benelux BV
By creating a digital twin of the component, target-actual comparisons to CAD data are possible.
Presentation and poster will be available at 17 april 2025

By creating a digital twin of the component, target-actual comparisons to CAD data are possible.
Presentation and poster will be available at 17 april 2025

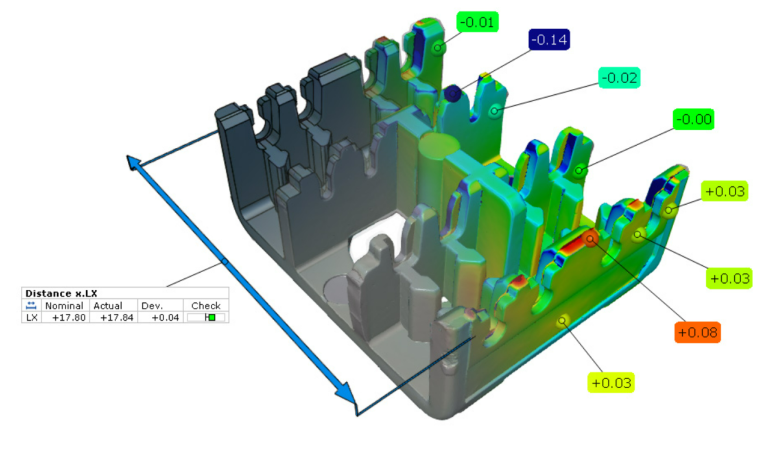
As metrology experts we deliver quality inspection analysis done via 3D scanning, both optical as well as X-ray CT. Additionally we can also convert our scans to CAD models as part of a reverse engineering project.
Read more Watch presentation See posterPresentation and poster will be available at 17 april 2025

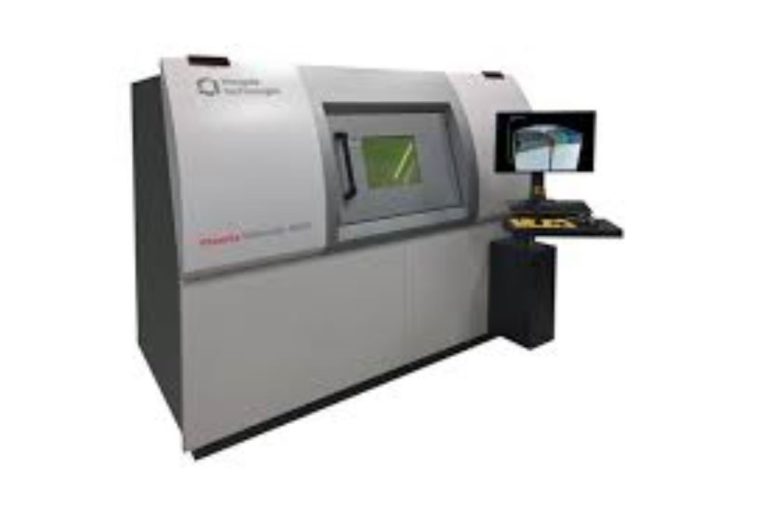
Waygate Technologies has made Radiographic Testing (RT) and Computed Tomography (CT) solutions more accessible to the industrial world, allowing you to attain peace of mind while also leveraging the cost savings of Non-Destructive Testing(NDT).
Read more See posterPresentation and poster will be available at 17 april 2025

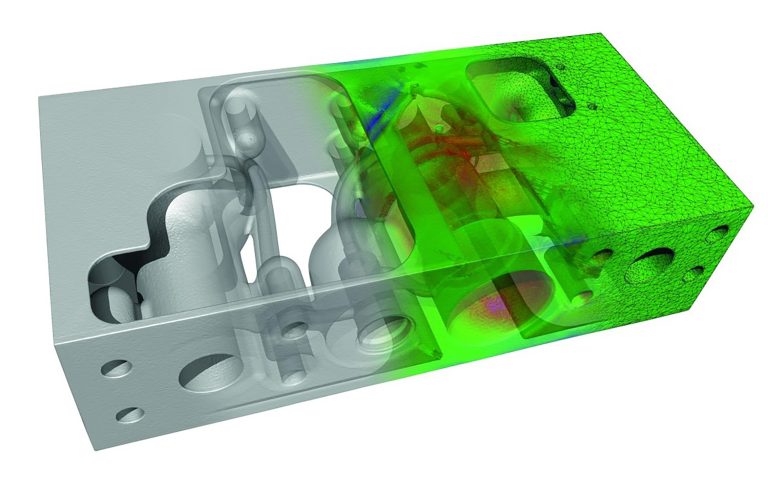
The resulting dataset can be compared to a stack of pixel images in which each slice of the stack represents a virtual section through the part – by browsing through this image stack, internal features become visible.
Presentation and poster will be available at 17 april 2025

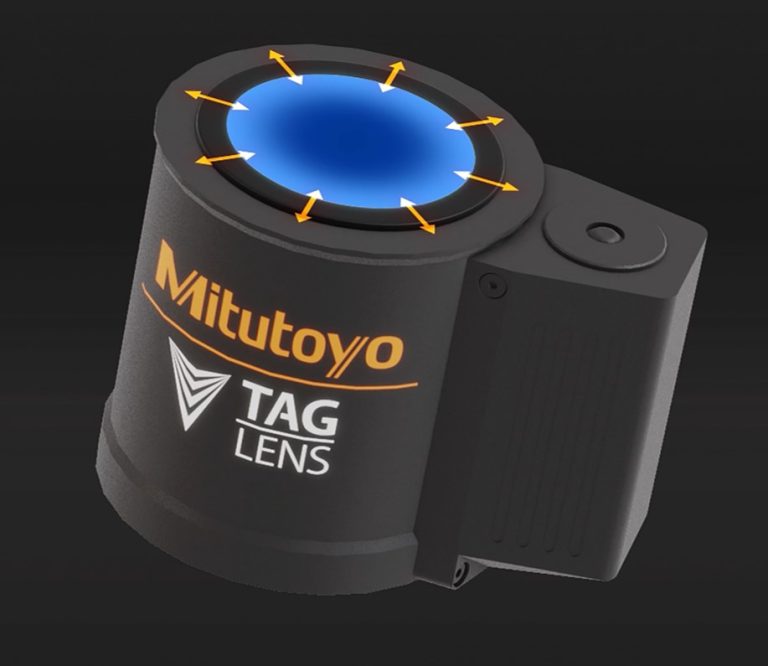
With this unique technique the scan range of the focal position of an optical system can be increased by a factor of up to 20+ times. This enhanced depth of focus (EDOF) results in sharp images even for 3D structures that standard optics cannot capture all-in-focus in just one shot.
Presentation and poster will be available at 17 april 2025

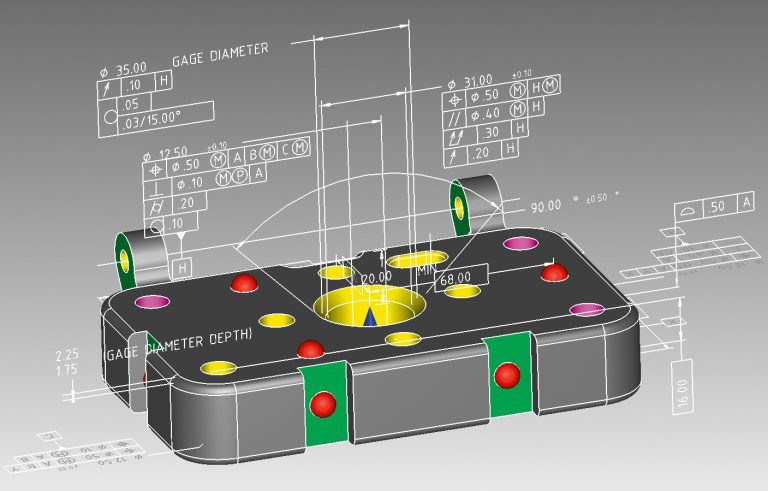
Previously, an inspection plan was created from a CAD model in combination with a 2D technical drawing. The user had to interpret the 2D drawing and transfer the information to the ZEISS CALYPSO measurement plan with the 3D model.
Presentation and poster will be available at 17 april 2025
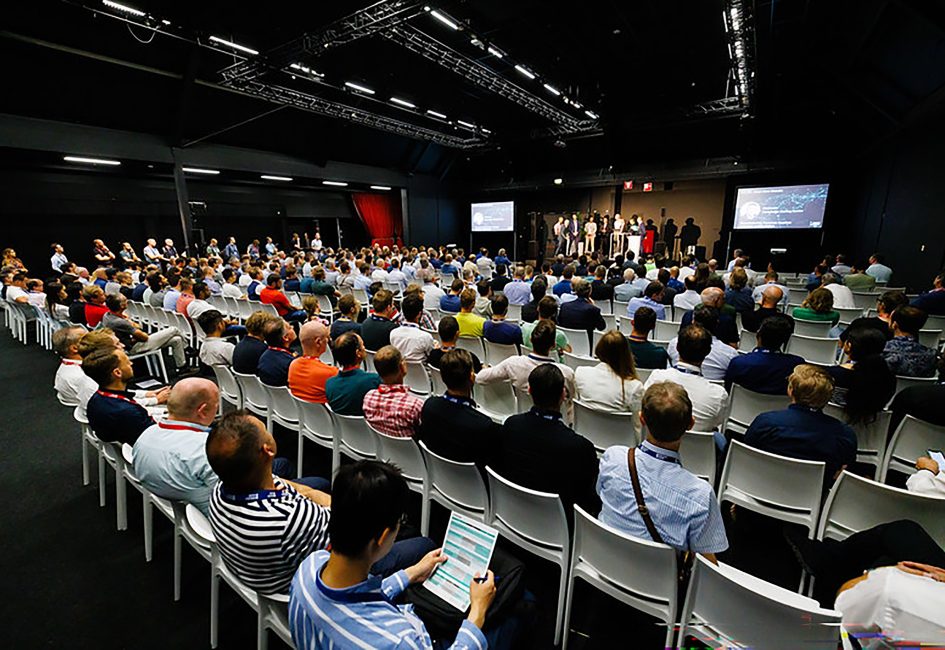
The aim of the Manufacturing Technology Conference is to bring together technicians from the design and manufacturing industry to share knowledge about manufacturability. With this annual Manufacturing Technology Conference, we increase knowledge about manufacturability for developers and help them look for possibilities that were previously unknown.
Sign up as a visitor Sign up as a participant